To rip DVD to MKV with multiple subtitles and audio tracks preserved, you need to get a DVD to MKV Converter. Pavtube ByteCopy is highly recommended for ripping DVD to MKV with multiple subtitles and audio tracks. Here we will detail you how to use Pavtube ByteCopy to rip DVD to MKV with multiple subtitles and audio tracks.
Get Pavtube ByteCopy Coupon Code
Get more Pavtube Coupon Codes
How to Rip DVD to MKV with Multiple Subtitles and Audio Tracks?
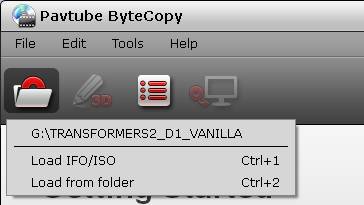
Step1. Load DVD files
Click “Load Disc” button to import DVD disc from optical drive to Pavtube ByteCopy. You can also load DVD or Blu ray ISO or folder. After importing, all video files in your DVD will be listed in the program. You can preview the imported movie file by double clicking or checking one of them and click the play button under preview window.
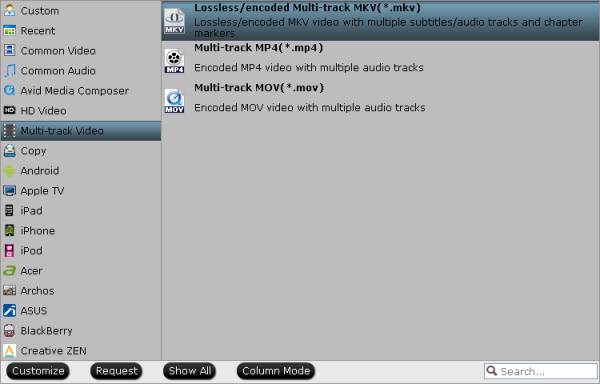
Step2. Choose MKV as output format
Clicking “Format” bar, you can choose output format. Pavtube ByteCopy has provided three multi-track output formats available for you to choose from – Lossless/encoded Multi-track MKV, Multi-track MP4, and Multi-track MOV displayed in “Multi-track Video” column. Just choose Lossless/encoded Multi-track MKV as output format.
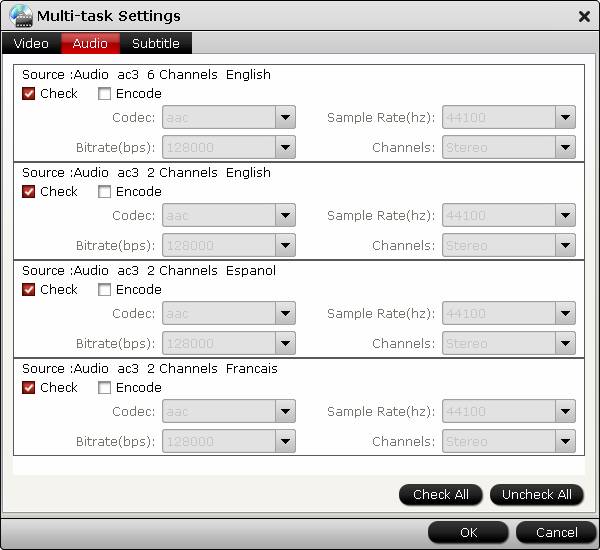
Step3. Settings
Actually, all audio & subtitles tracks in a source file are checked to be saved in the MKV container by default, if there are some tracks you don’t like, you can click “Settings” button and go to Multi-task Settings window to uncheck and remove them under Audio tab and Subtitle tab.
Step4. Choose Output Directory and Find the Output Folder
By clicking Browse button on main interface, you can choose the directory where you’d like to put the output files.
By clicking Open button, you can popup the output folder.

Step5. Start ripping DVD to MKV with multiple subtitles and audio tracks
Click “Convert” button on main interface, you can go to Conversion window to start DVD to MKV conversion with multiple subtitles and audio tracks preserved.
