Last updated on 2011-06-28, by
How to Convert Final Cut to an iPad and Watch Final Cut Movies on Your iPad
Apple’s Final Cut Pro is remarked as the best video editing software designed for Mac users. With the help of Final Cut’s Export Using QuickTime Conversion feature, you can export videos from the editing time line to hard drive in iPad. What should be mentioned is that you should use the proper iPad format. Generally speaking, iPad supports various types of QuickTime video, such as H.264, MPEG-4 and M4V formats.
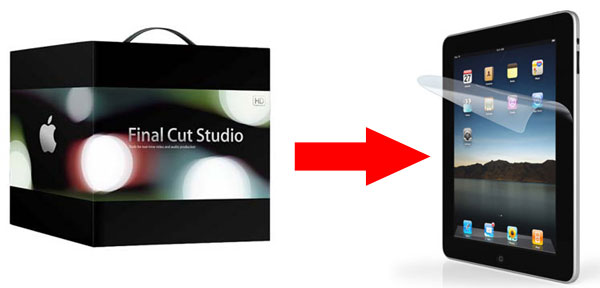
Step-by-step guide:
1. Activate Final Cut, and double-click the sequence containing the edited time line you want exported. Mark your sequence’s in and out points by setting Final Cut’s playhead cursors at the desired start point and pressing “I” on your keyboard. Set your cursor at the desired end point and press “O” on your keyboard to set your out point.
2. Click the “File” tab at the top of the screen, select “Export” and choose the “Using QuickTime Conversion” option to enter the Export window.
3. Name your file and set an output destination to save your exported movie on your hard drive.
4. Click the “Options” button on the right side of the screen to enter the Movie Settings window. Press the “Video” button so a check mark appears, and click the “Settings” button to enter the Video Compression Settings screen.
5. Click the “Compression Type” drop-down box and select “H.264” (see Tips). Set your frame rate to “30 fps” using the “Frame Rate” drop-down box. Select the “Automatic” option in the Data Rate portion of the screen, located in the upper right corner. Click “OK” to return to the Movie Settings window.
6. Click the “Size” button in the Video portion of the Movie Settings window to change the size of your video if needed. Choose a preset dimension or click “Custom” to manually enter the desired height and width for your export. For general conversions, click the “Dimensions” drop-down box and select “Compressor Native” (this chooses the native dimensions for the video-compression type previously chosen). Click “OK” to exit to the Movie Settings window.
7. Enable the “Sound” box so a check mark appears. Click the Sound “Settings” button. Click the “Format” drop-down box and select “AAC” from the list of options, which is the default audio format for iPads. Select “48.000 kHz” from the “Rate” section for high-quality audio. Click “OK” to exit back to the Movie Settings window.
8. Deselect the “Prepare for Internet Streaming” box, and click “OK” to return to the Export screen. Click “Save” to begin exporting your video from Final Cut.
Read More:
